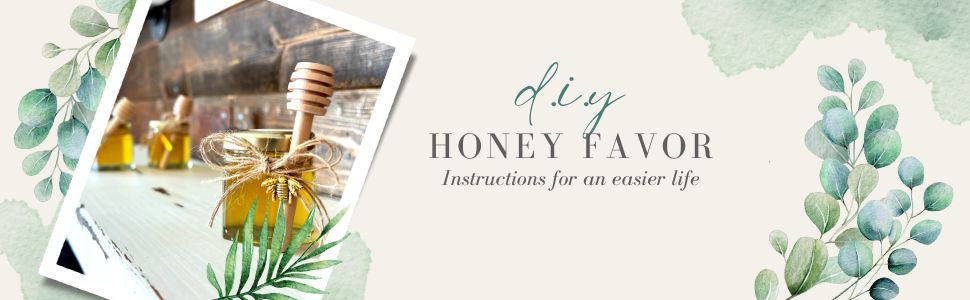
DIY Honey Favors Instructions
Share
If you are a DIY bride (or if you are assisting a DIY bride with wedding prep), you may still be looking for the perfect homemade wedding favors that are cute, quick, and cost-effective. These adorable DIY wedding favors will not only fit the bill, but they will be a crowd favorite! Little jars of raw clover honey create a warm, friendly, and sweet vibe no matter how you choose to display them, and your guests will love taking home a wedding favor that they can actually use and enjoy long after your big day.
When you’re doing most of your wedding yourself, time and money are truly of the essence. You could start with a bunch of empty jars, then clean each one, and then fill them all with honey from a bucket or pitcher, but I highly recommend skipping those steps. Ordering jars that have already been washed, filled, and sealed for you is GAME CHANGING. You will save yourself a lot of time, plus you won’t get sticky.
Once you add up the cost of buying the honey in bulk and buying the jars separately, you may find that it’s actually less expensive to buy them in a pre-filled kit anyway. In this kit, you only pay about $2 per pre-filled jar of honey, and then you can customize your jar shape and lid color, and you can decide whether you want to add bee charms and/or honey dippers. The bee charms come in two different sizes, and you can get them in gold or silver. While bee charms and honey dippers are optional, I chose to use them for this tutorial because I think they are a nice touch. (Note: I also went with the hexagonal jars with gold lids, ribbon colors that I thought looked cohesive with the color of the honey, and large gold bee charms to keep with my warm color scheme. You could also choose to go with your wedding colors.)
Here’s what you will need to get started:
- Honey wedding favor kit (includes pre-filled jars plus optional bee charms and honey dippers)
- Ribbon, jute, or raffia (if you are using bee charms, make sure your ribbon or tie is fairly narrow--see my images below)
- Sewing thread (to aid you in threading bee charms onto your ribbon or tie)
- Scissors
Here’s how you put everything together:
- Order one of these DIY honey wedding favor kits.
- Cut your ribbon into strips of about 15-17 inches in length. (The exact length will depend on your preferences. I prefered dainty little bows to tie everything together, and I found 18 inches to be about right for me.)
- Thread a bee charm onto each ribbon. Keep in mind that the eyelets on the charms are quite small. You will not be able to thread a wide ribbon through the eyelet. Narrower ribbons like the ones I used can be threaded through the bee charms just fine. Jute or raffia is also a good option. I found the easiest way to thread the charms onto the ribbon was to use sewing thread. Just fold the sewing thread in half, thread both ends of the sewing thread through the eyelet on the charm--which creates a loop for the ribbon to go through--and use the thread to pull the ribbon through the eyelet.
- Tie a ribbon around a jar, making sure the bee charm is out of the way. Tying a double knot instead of a single knot will help keep everything in place for the next step.
- Place a honey dipper directly over your double knot, then slide the bee charm into place directly in front of the honey dipper. Tie a simple bow. You’ll probably need to try a few times before you figure out how to make the bow/dipper/charm sit just how you want them, but once you get it, the rest of the jars will go pretty fast.
- Trim the ends of the ribbon so that they are the same length and they look polished.
- Repeat steps 4 to 6 on each jar.
And that’s it! Aren’t they great? Add a catchy phrase like “Spread the Love,” “Meant to Bee,” or “Life is Sweet,” on a little sign with the favors, and you’re golden! You can dress them up with personalized stickers or labels, as well, if you want to add some extra pizzazz. I have also seen some cute variations on this idea with cloth, burlap, or lace over the top of the lids. No matter what else you may decide to add, these homemade wedding favors are sure to be a hit!